For today’s photograph I decided to go a different route, so today’s photograph is going to be of a fruit! I said yesterday that most likely I will be using some more of my pictures from the hike in this photo challenge, but I have decided to leave them for another day, so that I don’t have a lot of the same pictures, which might get old pretty quick.
So the fruit that I have chosen for today’s post is a Strawberry! At home here we have been growing all sorts of vegetables and fruits, so I decided to work with what I have in the garden to take this picture.
I thought that this photo would be a good chance to work on making one colour in a photo prominent and having the rest of the picture simply black and white (Greyscale). In today’s example I will have the original photograph I have taken and then I also have three altered versions of the original photographs.
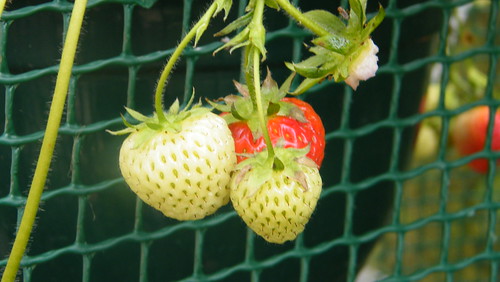
Since not all the fruit is ripe just yet, the picture I took has got one red strawberry, which is ready for picking! and then the other two in this picture are green, I chose to make red the prominent colour here.
I often see in films and photographs where people make for example, a red dress , stand out. I wanted to know how this was done so today I spent time learning how to do this, and I think the final photographs have come out pretty good.
Click the photographs to see a larger version!
The original Photograph
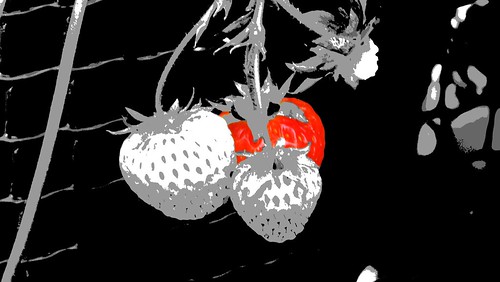
After the first step in altering the photograph

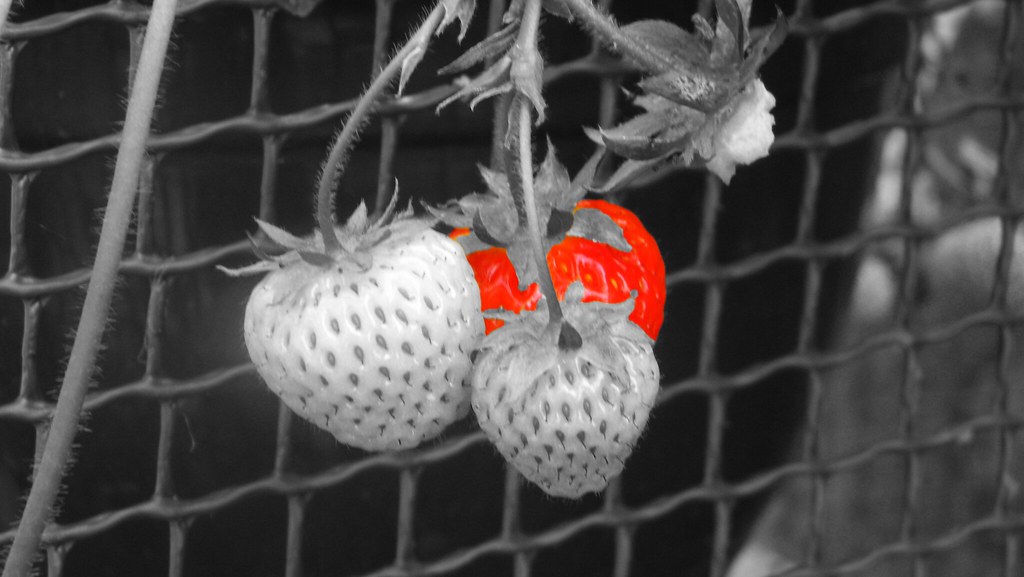
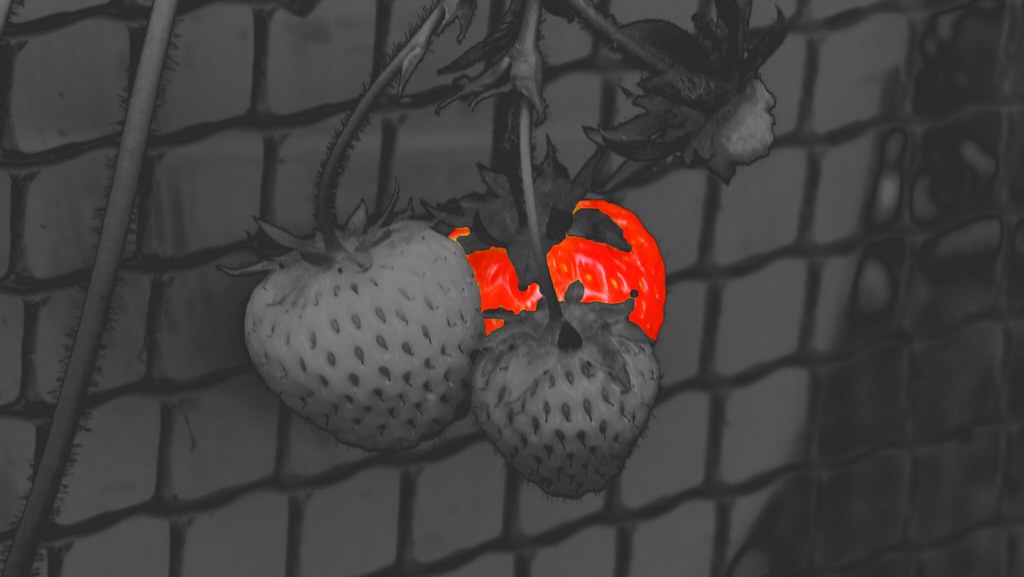
The end result, my two versions

How to create this effect?
Creating this effect is actually really simple and quick, obviously you will need Photoshop, so if you don’t have it, go and get a free trial from Adobe and give it a try!
For this example I am going to use my original image of the strawberry.
Step 1: Open your image in Photoshop and in the layers menu double click the thumbnail to unlock the layer.
Step 2: Create a duplicate of the original layer, simply select the layer and press CTRL + J on your keyboard.
Step 3: Next select the Quick Selection Tool from the toolbox in Photoshop and highlight everything you want to stand out, in this case I am choosing the red strawberry.
Step 4: After you have finished selecting the red area, from the menu choose “Select” then choose “Inverse”, this highlights everything else that is not your highlighted colour (Red).
Step 5: Select from the menu “Layer” then “Layer Mask” and finally “Hide Selection”.
Step 6: The final step is to choose the original layer, and below the layer box there is a half black / half grey circle, select the circle and choose “Black & White” and you now have your selected colour standing out above everything else.
After these steps your photograph should look something along the lines of my first edited photograph above.
I created the final versions of these images by using gradients for one and for the other I used a filter, I will let you create your own finished version ;). I also enhanced the redness of the strawberry in my photographs!