Today I have begun work on a new website design. The site is for a local business and it is a huge upgrade of their current site. I have already made some minor changes to their current design, but not a lot could be done with their current site, I did not design the current site! In case you haven’t guessed what the site is, it is a site for wedding cars and limos, as well as a taxi company.
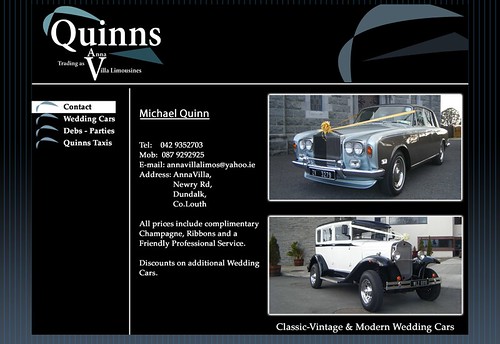
Above is a picture of how the site currently sits, as you can see a lot of work needs to be done to it to make it more inviting and to add some life to it. Currently the site is too dark and dull and does not contain enough information for the visitors or potential clients.
My client is in a bit of a rush to have this site upgraded, so a deadline of approximately a week has been set. This is a tight deadline, considering the amount of work that needs to be done, I am used to having more time to complete a site.
So what all I am going to be doing to this site? First off it is going to be sitting on an entirely new domain name, at the moment the domain name is a bit of a mouthful at 19 characters in length! The current domain is annavillalimousines.com , it is just too long to expect someone to remember when going to look up your business and it’s not exactly snappy enough either. The new domain name however is much simpler to remember and I will keep it quiet until I have the site launched.
The next change is the biggest, it is the entire site! From concept to design to code and implementation, it has all been left to me to create something new, brighter and more inviting to potential customers. I will be designing the new site in Photoshop, and work has already begun on that, last night I made up a quick draft of the site and today I made lots of changes to it in relation to colours.
Tomorrow I will be showing my design idea to the client to see if he likes it or if there is something different that he wants done with it. Before I used to hate having to build websites from scratch, I am great when it comes to the coding side of things, but design is not my strong point at all. Now however I have learnt how to use Photoshop to get the results I like so I am a lot more comfortable with designing sites from scratch and I now find it much more interesting and fun!
Once the design gets the go ahead it will be on to making the rest of the content for the remaining pages of the site and then I will begin the stage of coding! I want to build this design using the WordPress platform, it is my native platform that I use for websites and I know it inside out by now.
I used to never know how to build a theme for WordPress, but over this last summer I looked into building WordPress themes and I realised they are really simple once you get though one.
Also by using WordPress it gives me the ability to enhance the websites presence online by adding some strong SEO to the site, thanks to the many plugins available from the WordPress community.
The final step to this site will be to create a Facebook group and promote it, it’s always great to have a client that wants there site to be a bit more modern and integrate it with social networks!


